You have undefined items in your cart

HOW TO FIX SCRATCHES IN WOOD
Fixing scratches on wood is essential for any homeowner lucky enough to have solid wood furniture. Scratches are a part of daily life, but you can make your furniture look as good as new with the help of Chamberlains.
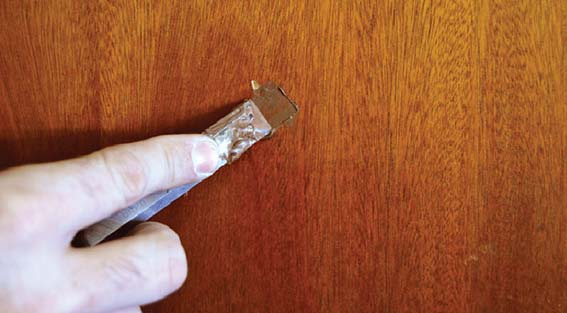
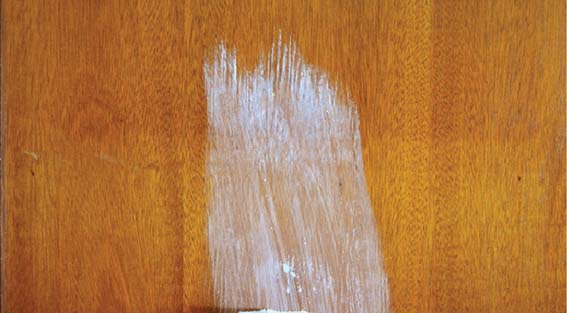
Step 1
Find a wood filler in your preferred colour, and check that it can be painted or stained. Using a putty knife, smooth a generous amount of wood filler over the scratch. The wood filler should form a raised layer rather than be flush with the surface of the wood.
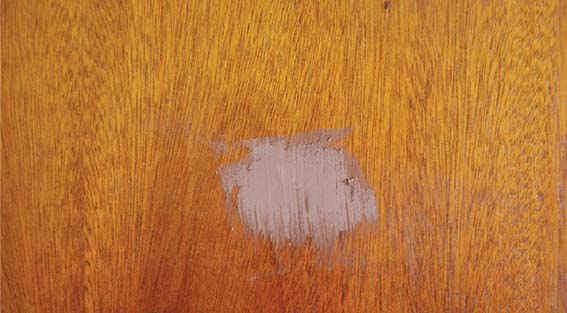
Step 2
Leave the wood filler to dry completely.
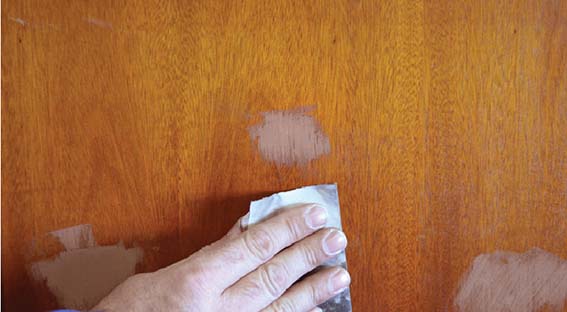
Step 3
Put on your dust mask so you don’t breathe in any dust, and sand over the wood filled area.
Step 4
For a professional finish sand with the grain of the wood, not against it. Sanding against the grain will leave fine scratches in the wood, which will become visible once varnished.
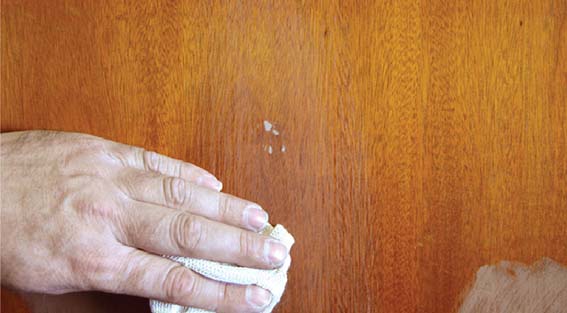
Step 5
Once you’re done sanding, wipe the area with a mutton cloth to get rid of the dust and any sanding residue. Give it a thorough wipe as you don’t want any dust to get into the stain or varnish.
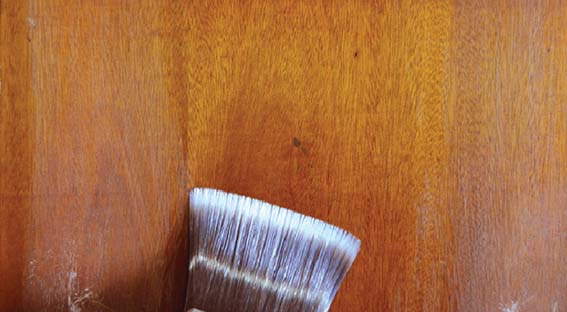
Step 6
Apply your stain or varnish using a flat paint brush or foam applicator. Use long even strokes and work along the grain of the wood. Let the first coat dry for at least 24 hours before applying a second coat.


